

Installing vinyl plank flooring is an essentional part in your home renovation. When it comes to transforming the aesthetics and functionality of your living space, flooring plays a pivotal role. Among the plethora of options available, vinyl plank flooring has gained immense popularity in recent years. Its affordability, durability, and versatility make it a top choice for homeowners and interior designers alike. In this comprehensive guide, we will delve deep into the world of vinyl plank flooring, offering you valuable insights and expert tips to ensure that your installation not only meets but exceeds your expectations.
Choosing the Right Vinyl Plank Flooring
Assessing Your Space
Before diving into the installation process, it’s crucial to evaluate your space. Take note of the room’s dimensions, as well as any unique features or challenges it presents. Are there any moisture-prone areas? Will the flooring be subjected to heavy foot traffic? Understanding your space’s specific requirements will help you select the most suitable vinyl plank flooring.
Types of Vinyl Plank Flooring
There are various types of vinyl plank flooring available in the market. Here are some popular options:
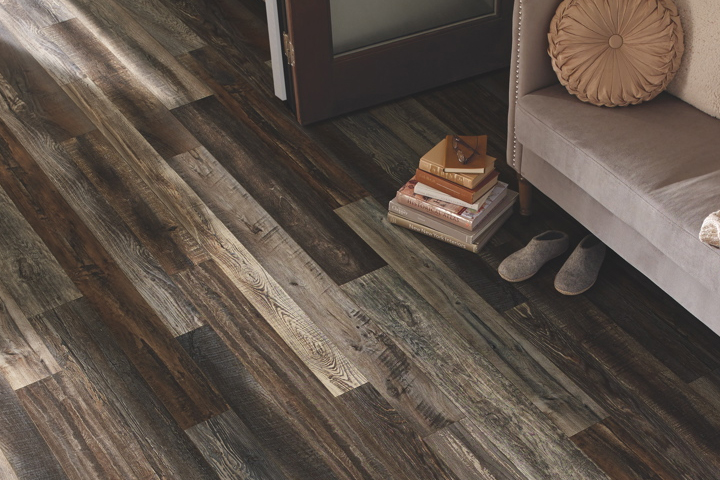
- Luxury Vinyl Plank (LVP): This type closely mimics the look of natural hardwood and is known for its high-quality visuals. LVP is perfect for those seeking an elegant, wood-like finish.
- Luxury Vinyl Tile (LVT): LVT replicates the appearance of stone or ceramic tiles. It’s an excellent choice for areas where moisture is a concern, such as bathrooms and kitchens.
- WPC (Wood-Plastic Composite) Vinyl Plank: WPC vinyl planks are engineered to be highly durable and waterproof. They are an ideal choice for high-traffic areas and homes with pets.
- SPC (Stone-Plastic Composite) Vinyl Plank: SPC vinyl planks are similar to WPC but are even more rigid and durable. They are a fantastic option for areas with extreme temperature fluctuations.
Each type of vinyl plank flooring has its unique features and benefits, so choose the one that aligns with your specific requirements and aesthetic preferences.
Preparing for Installation
Gather the Necessary Tools and Materials
Before you start installing vinyl plank flooring, it’s essential to have all the required tools and materials at your disposal. Here’s a list of items you’ll need:
- Vinyl plank flooring
- Underlayment (if necessary)
- Measuring tape
- Utility knife
- Straightedge
- Spacers
- Adhesive (if applicable)
- Rubber mallet
- Tapping block
- Safety goggles
- Knee pads
- Dust mask
Having these tools and materials on hand will ensure a smoother installation process.
Subfloor Preparation
Ensure that your subfloor is clean, dry, and level. Any imperfections or debris on the subfloor can affect the vinyl plank flooring’s appearance and longevity. If necessary, use a self-leveling compound to even out uneven spots.
Installation Process
Step 1: Acclimation
In the process of installing vinyl plank flooring, you need to Allow your flooring to acclimate to the room’s temperature and humidity for at least 48 hours before installation. This helps prevent expansion or contraction of the planks after installation.
Step 2: Layout
Plan your layout carefully, starting from the longest wall and working your way towards the exit. Use spacers to maintain a consistent expansion gap around the perimeter of the room, typically around 1/4 inch.
Step 3: Installation
- Begin by laying the first row of vinyl planks along the starting wall, ensuring that the grooves are facing the wall.
- Connect the planks by firmly clicking them together. Use a tapping block and rubber mallet to ensure a snug fit.
- Continue installing subsequent rows, staggering the seams for a natural look.
- When reaching the last row, measure and cut the planks to fit using a utility knife and straightedge.
- Ensure the planks are snug against the wall, leaving the recommended expansion gap.
- Install any necessary transition strips or molding to complete the installation.
Finishing Touches
Once the vinyl plank flooring is installed, it’s time for the finishing touches that will make your new floor look flawless:
Trim Installation
Install baseboards or quarter-round molding to cover the expansion gap and provide a clean, finished appearance. Ensure they are securely fastened to the wall, not the flooring.
Cleaning and Maintenance
Vinyl plank flooring is relatively low-maintenance. Regularly sweep or vacuum to remove dirt and debris. Clean up spills promptly with a damp cloth. Avoid abrasive cleaners that may damage the surface.
Conclusion
In conclusion, the installation of vinyl plank flooring is an excellent way to enhance the beauty and functionality of your space. By choosing the right type of vinyl plank, adequately preparing your subfloor, and following the installation steps meticulously, you can achieve a stunning result that will stand the test of time. You can always get a quote from us if you are looking for professional installation.
