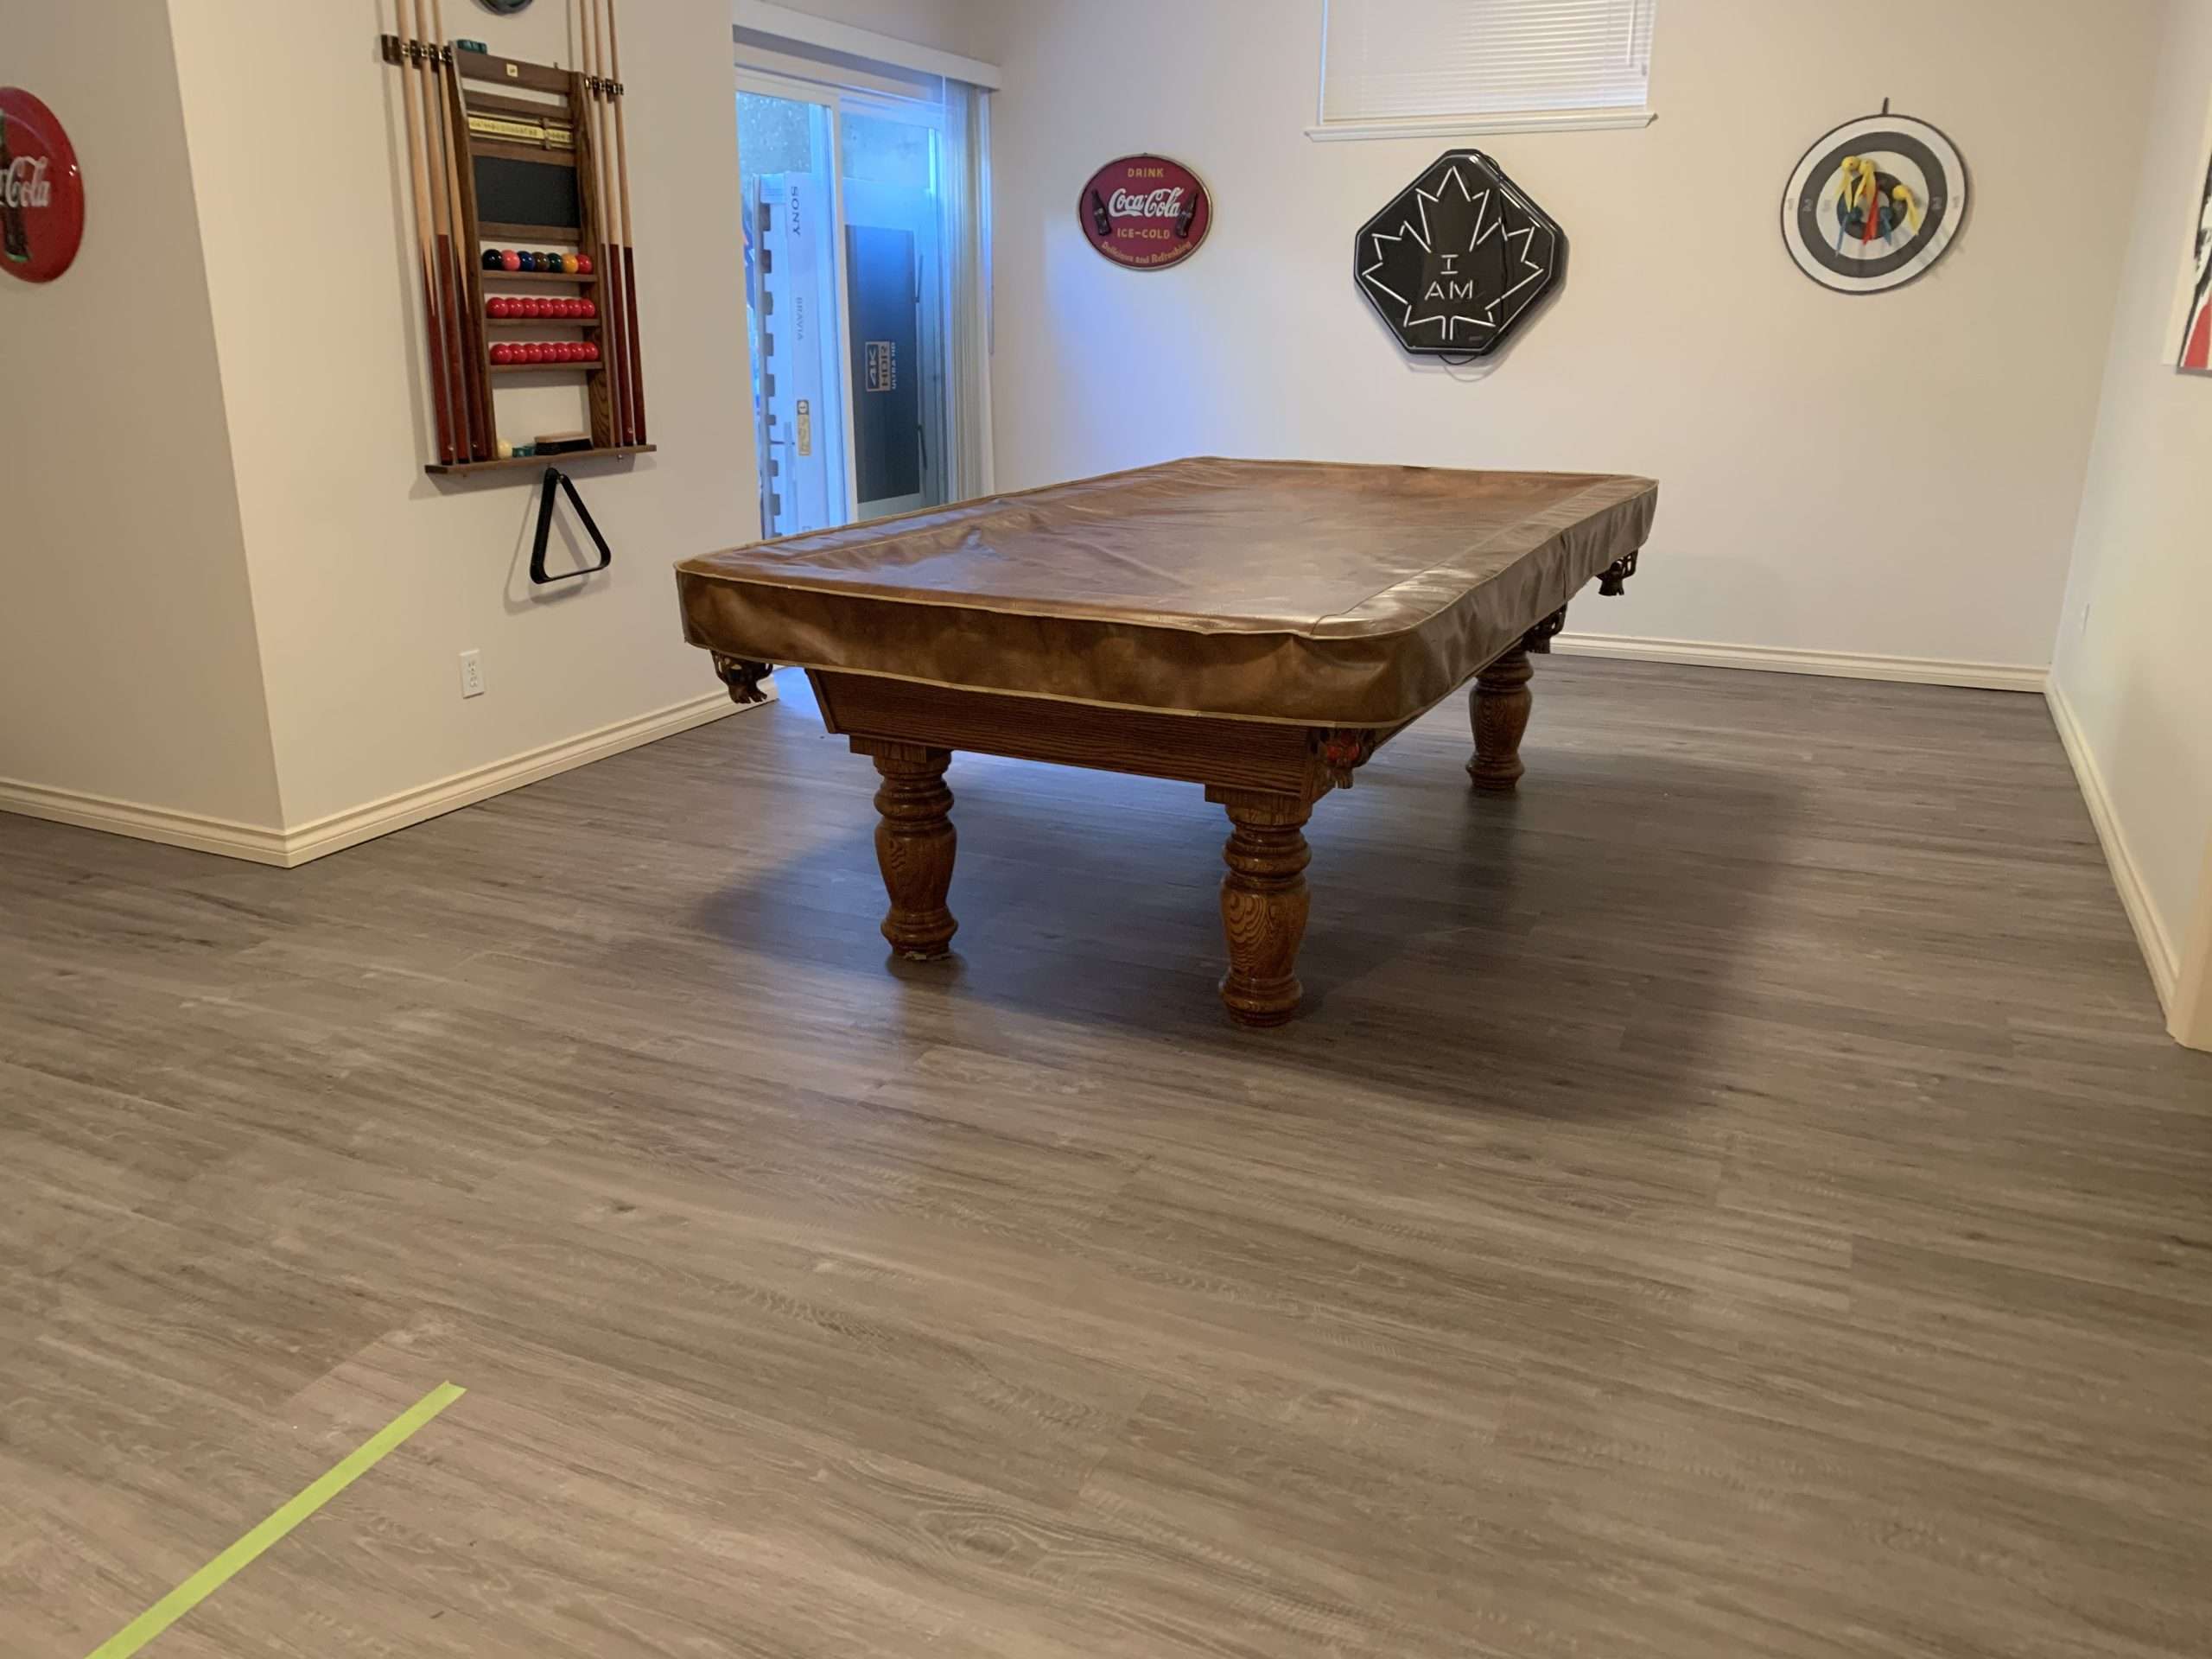
Vinyl flooring can be installed using different methods, including glue-down installation. Glue-down vinyl flooring is a popular option because it provides a stable and secure bond that keeps the flooring in place. Here are some steps to follow when installing vinyl flooring glue down:
- Prepare the Subfloor: Before installing the vinyl flooring, it is important to ensure that the subfloor is clean, dry, and smooth. Any bumps, cracks, or debris should be removed or filled in.
- Acclimate the Flooring: The vinyl flooring should be acclimated to the room’s temperature and humidity for at least 48 hours before installation.
- Apply the Adhesive: Using a notched trowel, apply a thin layer of adhesive to the subfloor. Be sure to work in small sections to avoid the adhesive drying out before the vinyl is laid.
- Lay the Vinyl Flooring: Carefully place the vinyl flooring onto the adhesive, starting from one corner of the room and working your way across. Be sure to use spacers along the edges to allow for expansion.
- Trim the Edges: Once the vinyl flooring is in place, trim any excess material from the edges using a utility knife.
- Roll the Flooring: Use a flooring roller to press the vinyl flooring firmly onto the adhesive and remove any air bubbles.
- Allow the Adhesive to Dry: Leave the flooring to dry for at least 24 hours before walking on it or installing baseboards.
Following these steps will help ensure a successful glue-down vinyl flooring installation. It’s also important to follow the manufacturer’s instructions for the specific vinyl flooring and adhesive being used. EverGreen city floors team specializes in this kinda of flooring. They can help you to get a quote for your project. Or you can call us if you have any questions in this regard.


